The weak points in most cladding systems aren’t the panels — they’re the junctions.
Where cladding meets windows, sills, parapets, balconies, and roof edges, the smallest gap or failed seal becomes the entry point for water.
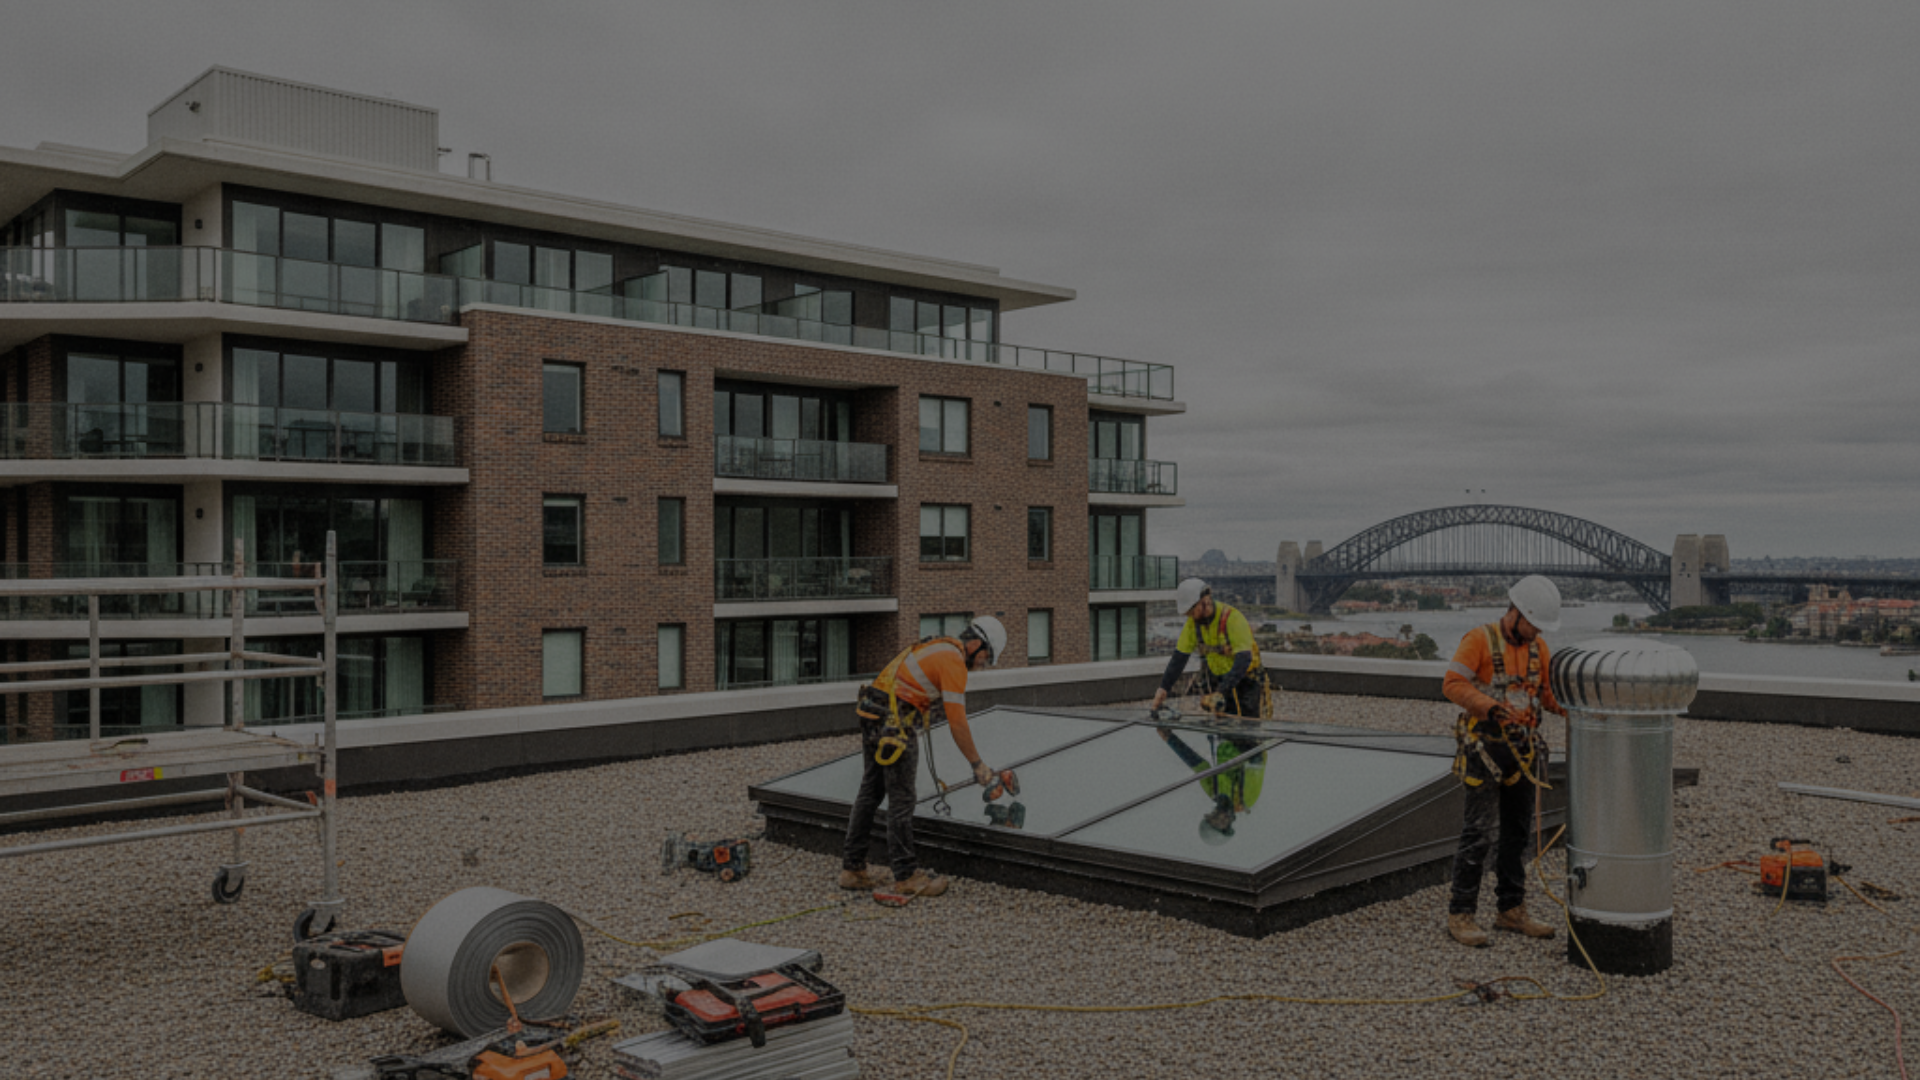
Interface waterproofing and flashing detailing is the discipline that protects every junction in your facade system. Done right, it’s invisible — a seamless, durable seal engineered to shed water under real-world storm conditions. Done poorly, it becomes the reason your cladding replacement fails within five years.
At Atomic Projects, we treat every junction as a critical waterproofing event. Our approach combines precision metalwork, premium sealants, and a deep understanding of how water behaves at facade interfaces under Australian weather conditions.
1. What We Cover
Our interface waterproofing and flashing detailing scope typically includes:
- Window head, sill, and jamb flashings
- Parapet and coping flashings
- Roof-to-wall junctions
- Balcony threshold and slab edge sealing
- Service penetrations (pipes, conduits, fixings)
- Base of wall and cavity drainage outlets
2. Our Approach
Good interface waterproofing starts with understanding the water load and movement at each junction — not just applying a generic flashing detail.
Our process:
- Facade mapping: Identify every penetration, junction, and interface on the building
- Detail design review: Review (or develop) flashing details against NCC requirements and fire engineer’s spec
- Precision fabrication: Custom-fabricate flashings to exact site dimensions
- Cavity integration: Coordinate sarking, fire barriers, and drainage with the flashing layer
- Sealant application: Apply premium-grade, movement-tolerant sealants at all overlaps and penetrations
- Testing and sign-off: Conduct hose tests and document results before scaffold is removed
3. Materials
We use:
- Colorbond Ultra and Zincalume for standard flashings — corrosion-resistant and colour-matched
- Stainless steel and copper for premium or heritage applications
- Silicone and polyurethane sealants — UV-stable, movement-tolerant, with a 15+ year service life in Sydney conditions
- EPDM and butyl tape for window perimeter sealing where specified
4. Compliance
Our flashing details are designed to meet:
- AS/NZS 4284 (Testing of Building Facades)
- NCC Section J waterproofing requirements
- Fire engineer’s cavity detailing specification
- Manufacturer installation guidelines for the cladding system
5. Why Interface Waterproofing Fails
The most common reasons interface waterproofing fails on cladding projects:
- Inadequate overlap lengths on flashings
- Sealant applied to dirty or wet substrates
- Mismatched sealant to substrate (e.g., acrylic on non-porous surfaces)
- Flashings not correctly lapped with sarking membrane
- No testing before scaffold removal
We address every one of these through our ITP, mandatory hold points, and post-installation testing protocol.
6. Why Atomic Projects
We don’t just make it look waterproof — we prove it is.
Every junction is sealed, tested, and documented to last the lifetime of the system.
Frequently Asked Questions
Why is interface waterproofing so critical in cladding replacement?
Every junction between the cladding system and adjoining elements — windows, balconies, parapets, roof edges — is a potential water entry point. Without correctly detailed flashings and sealants at these interfaces, water will track behind the panels and into the wall cavity, leading to structural damage and internal leaks. Getting this right is non-negotiable for a long-term watertight outcome.
What Australian Standards apply to cladding interface waterproofing?
The primary reference is AS/NZS 4284 (Testing of Building Facades), which sets the performance benchmark for weather resistance. Flashing design also draws from NCC Section J waterproofing requirements and fire engineer specifications where the facade system requires specific cavity detailing.
How are flashing details coordinated with the fire engineer’s specification?
Our team works directly with the fire engineer from design stage. Cavity barriers, fire stops, and flashing terminations must all be coordinated so the waterproofing layer doesn’t compromise fire compartmentation. We provide shop drawings to ensure the final installation satisfies both waterproofing and fire performance requirements simultaneously.
What sealants do you use and how long do they last?
We specify silicone and polyurethane-based sealants matched to the substrate type and movement requirements of each junction. Premium-grade sealants in correctly prepared joints typically perform for 15–25 years — significantly longer than the acrylic sealants used in lower-quality cladding installations.
Can you remediate existing poor interface waterproofing without replacing the whole cladding system?
In some cases yes — particularly where the panels themselves are compliant and intact but flashings and sealants have failed. We carry out a full facade inspection to determine whether targeted interface repairs are viable, or whether a more comprehensive replacement is needed to achieve a durable outcome.