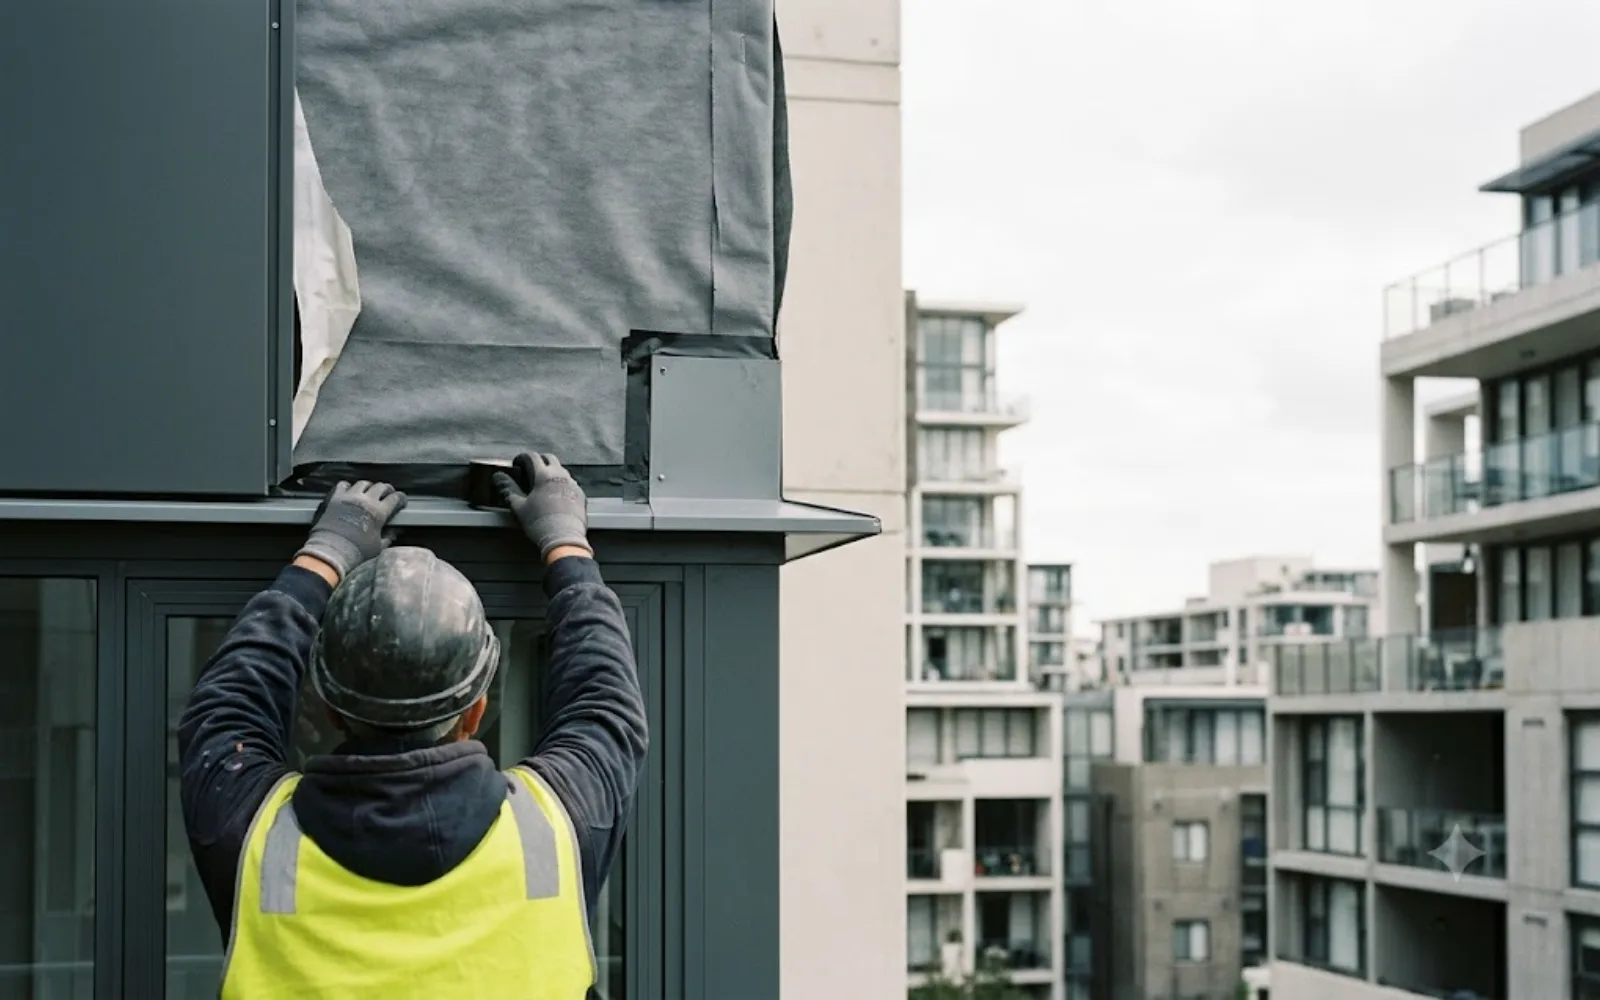
A cladding system doesn't leak at the panels. It leaks where everything else meets the panels.
Windows, balconies, parapets, roof edges, service penetrations, movement joints, base-of-wall terminations — these are the points where water finds its way in. Replace the cladding but treat these junctions as an afterthought, and the OC ends up with a compliant-looking facade that still lets water through within a few winters.
Weatherproofing integration is the discipline of designing and sealing the entire building envelope as a single continuous system — so the sarking, flashings, cavity drainage, membranes, and sealants all work together, not as disconnected details bolted on at the end. It is a whole-of-envelope approach, and it is what separates a facade that merely passes inspection from one that stays dry for its full service life.
At Atomic Projects, we plan weatherproofing integration from the start of a cladding replacement programme, not the end. Every interface is mapped, every drainage path is designed to shed water, and every seal is tested before scaffold comes down.
How We Integrate Weatherproofing Across the Envelope
- Map the whole envelope. We survey the entire facade and catalogue every junction, penetration, and interface — not just the obvious ones. Windows, balcony thresholds, parapets, roof-to-wall junctions, service entries, and expansion joints all go on the register so nothing is missed once panels are off.
- Design the water path. We work out how water is meant to move across and off the facade at every point — where it sheds, where it drains, and where the secondary defence sits behind the panels. This drives the flashing geometry and the sarking lap strategy, rather than applying a generic detail everywhere.
- Coordinate with the fire barriers. Cavity fire barriers and the weatherproofing layer share the same cavity, so they must be sequenced together. We install cavity barriers and integrate sarking and flashings around them so the envelope is watertight and fire compartmentation is preserved at the same time.
- Fabricate and install continuous flashings. Flashings are custom-made to site dimensions and lapped correctly with the sarking membrane so there is a continuous drainage plane behind the cladding — head, sill, jamb, parapet, and slab-edge, all tied into one system.
- Seal penetrations and junctions. Every pipe, conduit, fixing, and junction is dressed with compatible flashing tape and movement-tolerant sealant, applied to clean, dry, correctly primed substrates. Sealant choice is matched to each substrate and movement condition rather than using one product across the building.
- Test before scaffold comes down. We conduct hose testing to AS/NZS 4284 principles at representative junctions and document the results. Weatherproofing integration is a mandatory hold point in our ITP — panels aren't signed off until the envelope has been proven watertight.
Frequently Asked Questions
How is whole-envelope weatherproofing different from just detailing the flashings?
Flashing detailing addresses individual junctions one at a time. Weatherproofing integration designs the entire envelope as one continuous system — so the sarking, cavity drainage, flashings, membranes, and sealants are coordinated to move water off the building as a whole. The difference shows up in the corners and transitions, where a junction-by-junction approach leaves gaps that a whole-envelope approach designs out. For an OC, it's the difference between a facade that passes and a facade that stays dry.
Why does weatherproofing need to be planned before the cladding works start?
Because the drainage plane sits behind the panels. Once panels are fixed, the flashing geometry, sarking laps, and cavity drainage are locked in and can't be corrected without pulling the facade apart again. Planning the water path before works commence means the substrate, battens, cavity barriers, and flashings are all set up to drain correctly from the first panel. Retrofitting weatherproofing after the fact is how OCs end up paying twice.
How does weatherproofing integration interact with the fire engineer's cavity design?
The weatherproofing layer and the cavity fire barriers occupy the same cavity, so they have to be resolved together. The fire engineer specifies where cavity barriers sit; we integrate the sarking and flashings around those barriers so neither compromises the other. Done in isolation, waterproofing can breach a fire barrier or a fire detail can create a water trap. We coordinate both through shop drawings so the completed envelope satisfies weatherproofing and fire performance simultaneously.
What standards govern facade weatherproofing?
The primary performance reference is AS/NZS 4284 (Testing of Building Facades), which sets the benchmark for weather resistance under simulated storm conditions. Weatherproofing design also draws on the NCC's waterproofing provisions and the cladding manufacturer's installation requirements. For each project we design details to satisfy these and, where required, coordinate with the fire engineer's specification so the envelope is compliant on every front.
How do you prove the envelope is actually watertight before handover?
We hose-test representative junctions to AS/NZS 4284 principles while scaffold is still in place and access is available, and we photograph and document every result. This testing is a mandatory hold point in our ITP — panels are not signed off, and scaffold does not come down, until the envelope has been proven and the evidence is in the QA record. The OC receives that evidence as part of the completion documentation.
Related Services